# Spigot Plugin Development
# How to Code a Spigot Plugin
Getting started with Spigot plugin development can seem like a daunting task at first. Keep in mind that there is an incredible community on our Discord that can provide additional help. One of the first things you should do is learn some Java Basics with our Java beginners guide. This is a common thing told to many new Spigot plugin developers and it is something that most refuse to do. While it may take about a week or two of your time away from developing your super fun plugins, it will increase your overall understanding of plugin development.
# Installing Java
We would advise that you start using newer versions of Java (Java 10+) as these offer more features, better security, and overall performance boosts. If your host is not using a Java version compatible with yours, then make sure to contact them and get the version that you are using.
Make sure to download the proper file based on your operating system / Linux distro.
Java 8 Download / Java 11 Download / Java 14 Download
Once you have downloaded and installed Java, ensure that it its properly installed by typing Java --version in your command prompt or terminal. If nothing shows up, you might have forgotten to create your environment variables. If that is the case follow the section titled 'Fixing Environment Variables' below.
# Fixing Environment Variables
Do this only IF Java --version prints out nothing or errors.
# Windows 10
Open File Explorer and browse for your Java installation folder. It will most likely be located in either Program Files\Java or Program Files (x86)\Java on your C: drive.
Once you find your Java folder look for a JRE installation folder (e.g. jreXXXX.jar), open it. Otherwise, open the JDK installation folder (e.g. jdkXXXX.jar). Copy the full path in the navigation bar at the top.. Simply just open your command prompt and type setx JAVA_HOME -m "Path"
# Linux
Open a Terminal or command line window. Open the ~/.bash_profile using nano or another command-line editor such as Pico. For example enter nano ~/.bash_profile. Set your PATH to include the JDK sub-folder named java. For example: export PATH=$PATH:/usr/java/jdk11.0_10/bin. Save your changes and restart.
# MacOS
Open a Terminal or command line window. First we need to confirm that you have a Java JDK installed. Type which java. It should show /usr/bin/java. Next we need to set our JAVA_HOME using this command in Terminal: export JAVA_HOME=/Library/Java/JavaVirtualMachines/jdk-11.0.6.jdk/Contents/Home/. Your path may differ from mine based on what version of Java you are using. But generally it will always be under /Library/Java/.... You will want to ensure you get to the folder just before the /bin folder.
# Download your IDE
Now that we have installed Java we are ready to install our IDE. Because we are using Intellij, a majority of our keyboard shortcuts will be coming from Intellij IDE. But if you are using Eclipse, or another IDE, feel free to remap your keyboard shortcuts to mimic the Intellij keyboard shortcuts.
Intellij IDE Download / Eclipse IDE Download
# Setup your IDE
# Intellij
This is our preferred IDE, but feel free to use your own. As of May 2020, this is the IDE that all of our tutorials will be using. So following with Eclipse, or any other IDE, may become difficult but not impossible. Some steps may take slightly longer to complete as you may have to find your IDE's version of what Intellij has.
# Java Project Setup
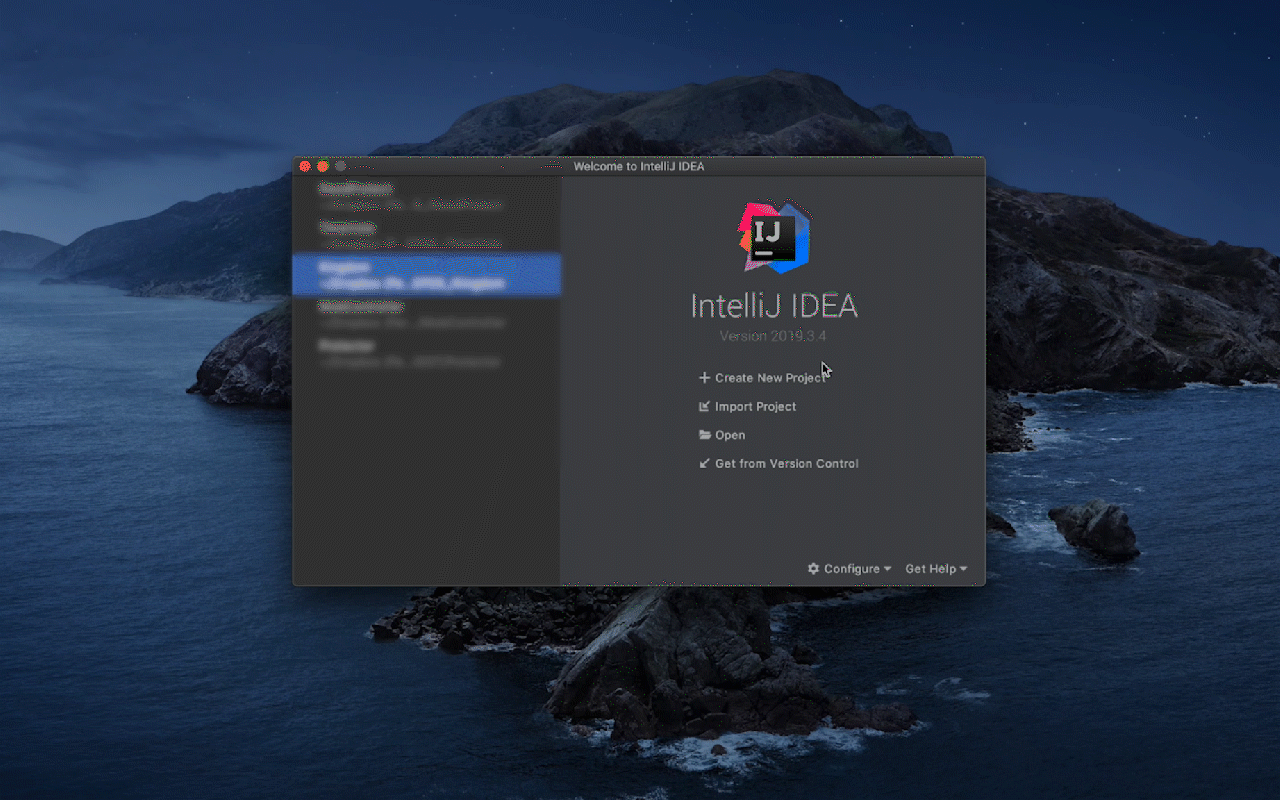
Lets first launch IntelliJ IDEA, or your selected IDE. If this is your first time opening Intellij chances are you will get the welcome screen. Just go ahead and click Create New Project. If the welcome screen is not present, from the top toolbar select File -> New -> Project.
In the Project wizard, select Java from the list on the left. To develop Java applications in IntelliJ IDEA, you need the Java SDK (JDK). If the necessary JDK is already discovered by IntelliJ IDEA, select it from the Project SDK list. If the JDK is installed on your computer, but not discovered by the IDE, select Add JDK and specify the path to the JDK home directory (for example, /Library/Java/JavaVirtualMachines/jdkXXX.jdk).
If you do not have a JDK on your computer, select Download JDK. In the next dialog, specify the JDK, version, change the installation path if required, and click Download.
# Maven Project Setup
For any beginners our there, you are probably wondering what maven even is. Maven will provide very useful in the future, but for getting started with the basics I would probably skip over it for now.
If you wish to learn more about Maven, feel free to visit their site
# Create a package and a class
# Eclipses
Coming soon